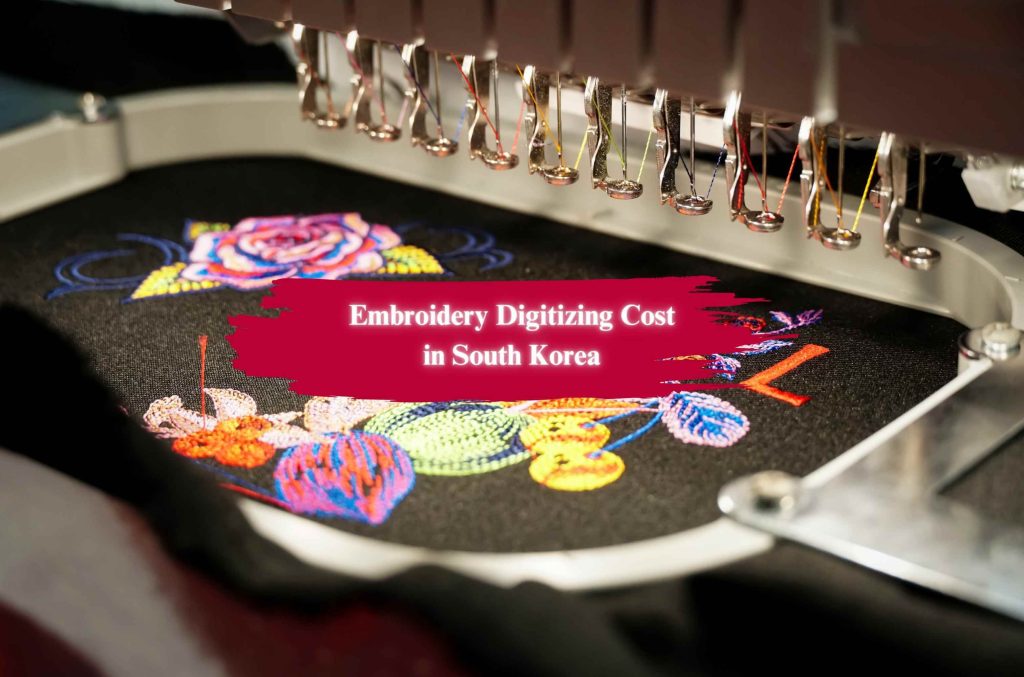
Embroidery digitizing is the process of converting artwork, logos, or designs into a digital file that embroidery machines can interpret. This digital transformation ensures that the embroidery machine stitches the design precisely onto fabric, creating beautiful and intricate embroidered pieces. But what is embroidery digitizing, and why is it so crucial in the embroidery industry?
In this guide, I will walk you through every aspect of embroidery digitizing. We’ll explore together its importance, processes, tools, and the best embroidery digitizing service providers.
Whether you’re new to this field or an embroidery enthusiast, this blog will provide the knowledge you need.
Table of Contents
- What is Embroidery Digitizing?
- Why is Embroidery Digitizing Important?
- How Does Embroidery Digitizing Work?
- Subcategories of Embroidery Digitizing
- Custom Embroidery Digitizing Services
- Logo Digitizing Services
- Monogram Digitizing
- 3D Puff Embroidery Digitizing
- Center Chest & Jacket Back Designs
- Appliqué Digitizing
- Patch Digitizing
- Photo to Embroidery
- Font and Lettering Digitizing
- Color Blending Digitizing
- Small Lettering Digitizing
- Factors That Impact Embroidery Digitizing Quality
- Best Tools and Software for Embroidery Digitizing
- How to Choose the Right Embroidery Digitizing Service
- Why Quality Designx is the Best Provider
- Conclusion
- FAQs About Embroidery Digitizing
What is Embroidery Digitizing?
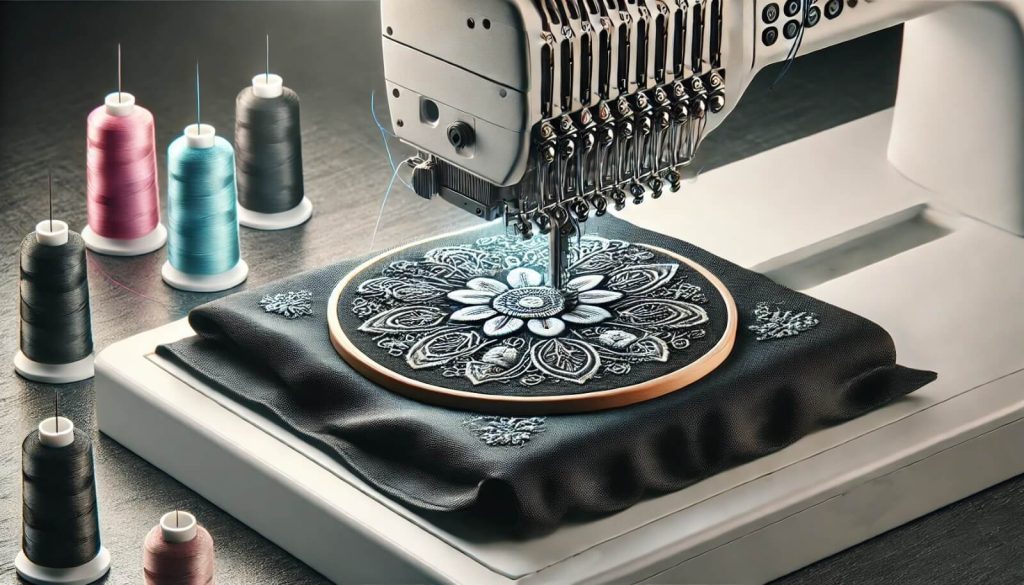
Embroidery digitizing is the art and science of converting the visual design into a digital file that embroidery machines can use. These machines follow the instructions in the file to stitch patterns accurately onto fabric.

A digitized file serves as a blueprint, guiding the embroidery machine through every step of the process, including which stitches to use, their density, and how to transition between elements of the design.
Unlike traditional hand embroidery, where artisans manually stitch designs, digitizing automates the process. However, creating a high-quality digitized file requires technical expertise, a deep understanding of design, and knowledge of fabrics and threads.
For example, consider a corporate logo embroidered onto employee uniforms. The logo must be scaled to fit the garment, maintain its proportions, and replicate the colors accurately. This is where embroidery digitizing shines, ensuring the design is both visually appealing and durable.
Why is Embroidery Digitizing Important?
Now, you know what embroidery digitizing is, but you are still confused about why it’s important. So, let me resolve this for you.
Embroidery digitizing is a vital step in modern embroidery. Here’s why it’s indispensable:
Precision and Accuracy
Digitized embroidery files ensure that every detail of a design is captured and stitched accurately, from intricate patterns to small text.
Consistency Across Products
For businesses that produce items in bulk—like uniforms or promotional merchandise—digitization ensures every piece looks identical.
Durability
Proper digitization creates designs that withstand wear and tear, including repeated washing. This is especially important for items like work uniforms.
Time Efficiency
Once a design is digitized, it can be used repeatedly, saving time in future production runs.
Creative Flexibility
From personalized gifts to complex logos, digitization allows for unlimited creative possibilities in embroidery.
How Does Embroidery Digitizing Work? The Complete Digitizing Embroidery Process
The embroidery digitizing process involves several critical steps. Let’s break them down how to do embroidery digitizing in detail:
Step 1: Design Preparation
The process begins with uploading the design into embroidery digitizing software. This could be company logos, photographs, or custom illustrations. Formats like PNG, JPG, or SVG are commonly used.
Step 2: Defining Dimensions
The design must be resized to fit the intended embroidery area. For instance, a logo for a cap might require downsizing compared to the same logo on a jacket.
Step 3: Choosing Stitch Types
Different stitch types are selected based on the design elements:
- Straight Stitch: For fine details and outlining.
- Satin Stitch: Best for text and smooth, curved shapes.
- Fill Stitch: Used for larger areas, creating texture and background.
Step 4: Adjusting Stitch Density
Stitch density is critical to the design’s durability and appearance. Adjustments are made to prevent fabric puckering or overly stiff embroidery.
Step 5: Setting Thread Colors
Thread colors are matched to the design’s color palette to maintain visual accuracy.
Step 6: Saving the File
The completed design is saved in a file format compatible with the embroidery machine, such as DST, PES, or EXP.
Step 7: Conducting a Test Run
Before production, a test run (known as a “sew-out”) is performed to ensure the design stitches correctly and looks as intended.
Different Types of Embroidery Digitizing Work
There are a variety of embroidery digitizing services that meet different needs. Here are the key types of digitizing work:
Custom Embroidery Digitizing Services
- Tailored designs for specific occasions or purposes.
- Common examples include event branding, custom artwork, and family crests.
- Converts business logos into embroidery files for professional branding.
- Ideal for uniforms, promotional items, and corporate giveaways.
- Creates personalized monograms for embroidery on linens, towels, and apparel.
- Often used for wedding gifts or luxury branding.
3D Puff Embroidery Digitizing Services
- Adds depth and texture to designs, creating a raised, dimensional look.
- Commonly used on caps and bold logos.
Center Chest & Jacket Back Digitizing Services
- Large-scale designs for clothing require careful planning and precise execution.
- Often used for sports team uniforms and outerwear.
- Combines fabric pieces with embroidery to reduce thread usage and add visual interest.
- Frequently used for creative and decorative projects.
- Prepares designs for standalone patches, which can be sewn or ironed onto garments.
- Ideal for clubs, organizations, and commemorative events.
Photo to Embroidery Digitizing Services
- Transforms photographs into embroidery-ready designs.
- Popular for creating sentimental or artistic embroidered pieces.
Font and Lettering Digitizing Services
- Converts text into stitchable designs, offering various fonts and styles.
- Ideal for name tags, slogans, and custom lettering.
Color Blending Digitizing Services
- Uses advanced techniques to blend colors seamlessly, adding shading and depth.
- Perfect for artistic designs and realistic embroidery.
Small Lettering Digitizing Services
- Specializes in making small text clear and legible in embroidery.
- Used for fine details on logos and labels.
Factors That Impact Embroidery Digitizing Quality
There are Several factors affect the quality of digitized embroidery, including:
- Fabric Type: The type of fabric determines the stitch density and adjustments required to prevent distortions.
- Design Complexity: Simplifying intricate designs is sometimes necessary for smaller embroidery areas.
- Thread Type: High-quality threads ensure vibrant colors and durability.
- Push and Pull Compensation: Adjustments are made to counter fabric stretching and distortion during stitching.
- Stitch Direction: Properly aligned stitches enhance the visual appeal of the final design.
Best Tools and Software for Embroidery Digitizing
The right tools are essential for creating high-quality digitized designs. Here are some top options:
Embroidery Software
- Wilcom: Industry-leading software with advanced features for professional digitizers.
- Hatch: User-friendly software suitable for both beginners and experts.
- Brother PE-Design: Great for small-scale projects and hobbyists.
- Ink/Stitch: A free, open-source option for those just starting.
Embroidery Machines
- Brother Machines: Reliable and precise, ideal for small to medium-sized projects.
- Janome Machines: Known for their versatility and durability.
- Tajima Machines: A commercial favorite for large-scale embroidery production.
How to Choose the Right Embroidery Digitizing Service
Choosing the right embroidery digitizing service can make or break your project. Here are some tips:
- Experience: Look for providers with a proven track record of handling various design types.
- Embroidery Digitizing Portfolio: A strong portfolio indicates expertise in diverse styles and complexities.
- Customer Reviews: Positive reviews and testimonials provide confidence in the provider’s reliability.
- Turnaround Time: Ensure the service can meet your deadlines without compromising quality.
- Embroidery Digitizing Pricing: Strike a balance between affordability and quality—cheap services might lead to poor results.
- Support: Responsive customer service ensures smooth communication throughout the process.
Why Quality Designx is the Best Provider
When it comes to embroidery digitizing, Quality Designx leads the industry with its unmatched expertise and customer service. Here’s why:
-
- Skilled Team: Experienced professionals ensure every design is digitized to perfection.
- Comprehensive Services: Offers a full range of digitizing solutions, from 3D puff to monograms.
- Affordable Pricing: Competitive rates without sacrificing quality.
- Fast Turnaround: Reliable delivery for tight deadlines.
- Global Clientele: Trusted by businesses and individuals worldwide.
- Comprehensive Services: In addition to embroidery digitizing, they are experts in Vector Graphics Services and Graphics Designing Services worldwide.
Final Thoughts
Embroidery digitizing transforms creative designs into precise, machine-executable files. From logos to monograms and artistic renderings, this process is at the heart of modern embroidery.
Whether you’re a business looking to brand your products or an individual exploring creative projects, understanding what is embroidery digitizing empowers you to make informed decisions.
For professional-quality digitizing, trust Quality Designx—the global leader in embroidery digitizing services. Let them bring your designs to life with precision and artistry.
Contact now for a Free Embroidery Digitizing Quote.
FAQs
1. How to digitize a logo for embroidery?
Digitizing a logo for embroidery involves converting the logo into a machine-readable file that can be stitched onto fabric. Here’s the step-by-step process:
- Prepare the Logo: Ensure the logo is in a high-quality image format (PNG, JPG, or vector file like SVG). Clean up any unnecessary details that may not translate well into stitches.
- Choose Digitizing Software: Use professional software like Wilcom, Hatch, or Brother PE-Design to start digitizing.
- Import the Logo: Load the logo into the software and set the dimensions to fit the embroidery area.
- Select Stitch Types: Decide on stitch types (satin, fill, or straight stitches) for different parts of the logo. Satin stitches work well for text and borders, while fill stitches are ideal for larger areas.
- Set Stitch Directions: Adjust the stitch flow to enhance the design’s appearance and prevent distortions.
- Choose Colors: Match the thread colors to the logo’s color scheme.
- Test the Design: Save the file in the required format (e.g., DST, PES) and test it on a sample fabric to ensure the design stitches correctly.
2. How to digitize a photo for embroidery?
Transforming a photo into an embroidery design requires advanced digitizing skills. Follow these steps:
- Select a Photo: Choose a photo with clear details and good contrast. Avoid overly complex images with too many elements.
- Simplify the Image: Use photo-editing software to remove unnecessary backgrounds or objects and simplify details.
- Import into Digitizing Software: Load the edited image into digitizing software like Wilcom or Hatch.
- Outline Key Elements: Trace the main features of the photo, focusing on areas like faces, outlines, and shadows.
- Choose Stitch Patterns: Use a combination of satin, straight, and fill stitches to recreate the details.
- Add Color Blending: For realistic shading, use gradient techniques to blend colors seamlessly.
- Test and Adjust: Perform a test run on the fabric to check the final look, making adjustments as needed.
3. How to digitize designs for machine embroidery?
Creating digitized designs for machine embroidery involves these steps:
- Design Preparation: Start with a clear and well-sized design in a high-resolution format.
- Load into Software: Use digitizing software to import the design.
- Set Dimensions: Define the embroidery area to ensure the design fits the intended fabric or garment.
- Choose Stitch Types: Select suitable stitch types for different design elements.
- Add Layers and Details: Build the design layer by layer, adding stitch directions and density settings.
- Test and Export: Save the file in a compatible format and test it to confirm quality.
4. How to digitize 3D puff embroidery?
3D puff embroidery adds a raised, dimensional effect to designs, commonly seen on caps. Here’s how to digitize it:
- Select the Design: Choose bold and simple designs. Text or block shapes work best for the 3D puff.
- Adjust Stitch Settings: Increase stitch density to support the foam used for the puff effect.
- Layer Stitches: Apply a top layer of satin stitches over the foam to create a raised look.
- Test on Foam: Conduct a test sew-out using embroidery foam to ensure the stitches cut through cleanly.
5. How much to charge for embroidery digitizing?
The cost of embroidery digitizing varies based on design complexity, size, and turnaround time. Here are some general pricing guidelines:
- Simple Designs (e.g., text or small logos): $9
- Moderate Complexity (e.g., detailed logos or graphics): $20–$50
- Highly Complex Designs (e.g., portraits, intricate patterns): $50–$80
For ongoing clients, offering bulk pricing or package deals is a common practice.
6. How to digitize small letters for embroidery?
Digitizing small letters requires precision to ensure they are legible. Follow these tips:
- Choose the Right Font: Select embroidery-friendly fonts that maintain clarity at small sizes, such as Arial or Block.
- Increase Letter Spacing: Add extra space between letters to prevent overlapping stitches.
- Adjust Stitch Type: Use satin or straight stitches for better definition.
- Test Stitch Density: Keep density low to avoid clogging the design.
- Conduct a Test Sew-Out: Test the digitized letters on fabric to ensure they are readable.
7. How do you learn digitizing embroidery designs?
Learning embroidery digitizing involves a combination of training, practice, and tools. Here’s how to get started:
-
- Enroll in Courses: Take online courses or attend workshops on digitizing. Platforms like Udemy and Craftsy offer beginner-friendly tutorials.
- Practice with Software: Start with free or beginner-friendly software like Ink/Stitch, then progress to professional tools like Wilcom.
- Study Design Principles: Learn about stitch types, densities, and compensation techniques.
- Practice with Simple Designs: Begin with basic shapes and gradually move to complex patterns.
- Seek Feedback: Join embroidery forums or communities to share your work and get constructive feedback.
- You can also contact the Quality Designx team to teach you how to do embroidery digitizing.
8. How to digitize a drawing for embroidery?
Digitizing a drawing for embroidery involves these steps:
- Scan or Photograph the Drawing: Convert the drawing into a digital format.
- Edit the Image: Clean up smudges or unnecessary details in editing software like Photoshop.
- Import into Digitizing Software: Load the edited image into embroidery software.
- Trace the Outline: Use the software’s tools to trace the drawing’s key features.
- Assign Stitch Types: Apply different stitch types for various elements of the drawing.
- Export and Test: Save the file and test it on fabric to fine-tune the results.
9. What is the best embroidery digitizing software?
The best software depends on your skill level and requirements. Here are some popular options:
- Wilcom: The industry standard for professionals, offering advanced features.
- Hatch: User-friendly and suitable for beginners and professionals.
- Brother PE-Design: Perfect for hobbyists and small-scale projects.
- Ink/Stitch: Free and open-source, ideal for beginners on a budget.
10. How to digitize a file for embroidery?
Digitizing a file for embroidery requires creating a machine-readable file from an image or design. Follow these steps:
- Prepare the Image: Start with a clear and high-resolution image.
- Import into Software: Load the image into digitizing software.
- Trace the Design: Outline the elements to be stitched.
- Assign Stitch Types: Apply appropriate stitches based on the design’s features.
- Set Dimensions and Colors: Adjust the size and assign thread colors.
- Save in Compatible Format: Export the file in a format like DST, PES, or EXP.
Test the File: Conduct a test run to ensure the design stitches correctly.


