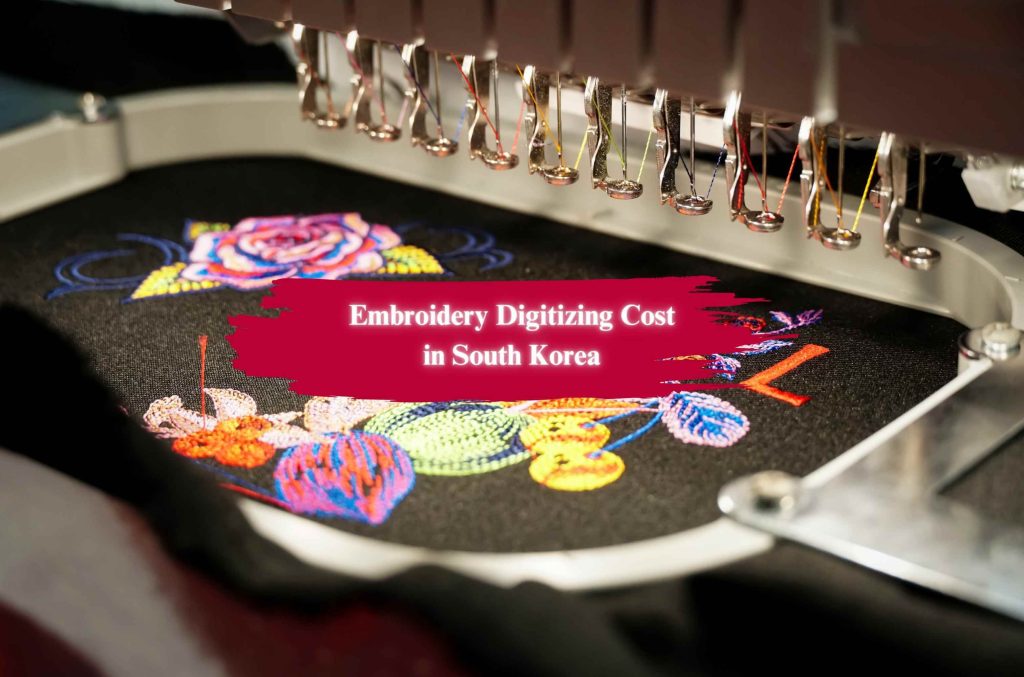
This guide is for those who want to learn how to digitize for embroidery. We have crafted an easy step-by-step guide for newbies or even professional designers can take advantage of this guide.
Embroidery digitizing is one of the most crucial steps in creating custom designs for embroidery machines. If you’ve ever wondered how to digitize for embroidery, you’re in the right place! In this comprehensive guide, we’ll walk you through the technical and creative aspects of digitizing embroidery designs, from getting started to mastering advanced techniques.
Whether you’re a beginner or an experienced embroiderer, learning how to digitize embroidery designs opens up a world of possibilities. Embroidery digitizing is great for custom creations, allowing you to transform your artwork into beautifully stitched products.
Get a Free Embroidery Digitizing Quote Now!
How to Digitize for Embroidery: Embroidery Digitizing Explained
What is Embroidery Digitizing?
Want to know What is Embroidery Digitizing? Embroidery digitizing converts artwork, logos, or any graphic design into a digital file that an embroidery machine can read. This digital file contains instructions on stitch placement, length, and type.
The technical side involves setting up a file that can be understood by embroidery software and machines. But, there’s also an artistic side: it’s about creating a design that looks good once embroidered, understanding fabric, thread types, and stitching techniques.
Why Digitizing is Crucial for Successful Embroidery
Digitizing plays a significant role in ensuring that your embroidery design looks flawless when stitched. A poorly digitized design can lead to uneven stitching, color issues, or distorted shapes. Proper digitizing allows for cleaner, more precise embroidery. It ensures your designs hold up under wear and tear, washing, and general use.
Why Should You Learn to Digitize?
Learning how to digitize for embroidery gives you more control over your designs and eliminates the need for outsourcing. Here are a few reasons why you should consider learning embroidery digitizing:
- Empower Yourself: With digitizing skills, you can create customized designs for your clothing, accessories, or business without relying on others.
- Hobby or Business: Whether you’re starting a small business or pursuing embroidery as a hobby, digitizing is a valuable skill.
- More Control: When you digitize your designs, you have complete control over every aspect (type of stitches to colors) of your embroidery.
How to Digitize for Embroidery: Who Is This Guide For?
This guide is perfect for:
- Beginners: If you have no prior experience in digitizing, you will find this guide easy to follow, with clear, step-by-step instructions.
- Experienced Embroiderers: Are you already familiar with embroidery but want to enhance your digitizing skills? We will delve deeper into the technicalities of creating great designs.
- Small Business Owners/Hobbyists: If you plan to digitize designs for custom orders or personal use, this guide will help you navigate the technical tools and techniques you need.
How to Digitize for Embroidery Chapter 1: The Fundamentals of Embroidery Digitizing
1.1 Understanding the Process: From Artwork to Stitches
The journey of turning an idea into a finished embroidered product begins with digitizing. Here’s an overview of the steps involved:
- Artwork Input: The first step is choosing your artwork, whether it’s a logo, a drawing, or an image.
- Digitizing Software: Using software like Wilcom, CorelDRAW, or Hatch to convert the artwork into a digitized embroidery file.
- Embroidery Machine: The final output is a file in formats like DST, PES, or EXP, which can be read by embroidery machines.
Key Components:
- Digitizing Software: Converts artwork into stitch instructions.
- Embroidery Machine: Reads the stitch file and physically creates the design.
- Thread and Fabric: The type of thread and fabric you choose affects the design’s final look.
1.2 The Key Principles of Embroidery Digitizing
To digitize effectively, you must understand the following principles:
- Thread Behavior on Fabric: Different threads (e.g., rayon vs. polyester) behave differently on fabrics. Choose the right combination for the best outcome.
- Stitch Types: The most common types of stitches are:
- Running Stitches: Used for outlines and fine details.
- Satin Stitches: Best for borders, lettering, and areas requiring a clean edge.
- Fill Stitches: Used for larger areas, adding depth and texture.
- Push & Pull Compensation: Stitches create tension in the fabric, causing it to stretch or shrink. Adjusting the stitch length and density helps to prevent fabric distortion.
- Underlay and Density: Underlay stitches provide a foundation for the design, ensuring it doesn’t shift or distort. Adjusting the density ensures the design looks full but doesn’t overrun the fabric.
1.3 Common Challenges in Digitizing
Embroidery digitizing can be tricky, and you’ll face several challenges, including:
- Small Text and Fine Details: Tiny letters or intricate designs need careful handling to avoid thread breaks and unclear text.
- Fabric Type Considerations: Different fabrics require different approaches. For instance, thicker fabrics like denim need more underlay to prevent puckering.
- Software Limitations: Some software may have limitations, so it’s essential to understand your toolset and know when to use advanced settings.
How to Digitize for Embroidery Chapter 2: Getting Started with Digitizing
2.1 The Tools You Need to Begin
To digitize embroidery designs, you’ll need specific tools. Let’s break them down:
Embroidery Software
Digitizing software is the cornerstone of embroidery digitizing. Popular programs include:
- Wilcom: Industry-standard software for professionals.
- CorelDRAW + Hatch: A combination of graphic design and embroidery software, great for beginners and pros.
- Adobe Illustrator: Works for vector graphics, though not specifically designed for embroidery.
For beginners, you can also start with free or budget-friendly options like Ink/Stitch or Stitch Era Universal.
Embroidery Machine
The machine you use will affect the final output. Brands like Brother, Bernina, and Janome offer machines with different features. Ensure your machine supports the file format you plan to use (e.g., PES, DST).
Pen Tablets
A pen tablet helps you draw more precisely than using a mouse. Brands like Wacom and Huion offer affordable options for digitizers.
2.2 Setting Up Your Workspace for Success
- Create an Ergonomic Workspace: Ensure that your desk is set up for comfort to avoid strain during long digitizing sessions.
- Optimize Software Settings: Customize your software’s preferences to speed up the process and improve your workflow.
- Design Size Considerations: Choose an appropriate design size based on the garment or product you’re working on. A larger design might need more stitching density to maintain balance.
How to Digitize for Embroidery Chapter 3: Mastering the Basic Steps of Embroidery Digitizing
3.1 Step 1: Uploading Your Artwork
- File Types: Use AI, SVG, or JPG files for uploading designs. Ensure the image is high quality and clear.
- Preparing Your Artwork: Clean up your artwork by removing unnecessary details and making sure it’s scalable for embroidery.
- Importing: Import the image into your digitizing software, making any necessary adjustments to optimize the stitching design.
3.2 Step 2: Setting the Design Size
- Resizing: While resizing, ensure the design doesn’t lose too much detail. Maintain the proportion of the design.
- Avoid Detail Loss: Small text or fine lines can disappear if scaled down too much, so use software tools to prevent this.
3.3 Step 3: Choosing the Right Stitch Types
- Running Stitches: Best for outlines and text.
- Satin Stitches: Perfect for creating smooth borders or fine details.
- Fill Stitches: Use these to fill large areas of a design with thread.
3.4 Step 4: Adjusting Stitch Direction
- Stitch Direction: The direction of the stitches impacts the texture and durability of the design. Ensure your stitches follow natural contours.
- Managing Sequence: Order the stitches logically for minimal jumps and smooth transitions.
3.5 Step 5: Selecting Thread Colors
- Thread Compatibility: Ensure the thread color you choose matches the fabric. Rayon is great for vibrant colors, while polyester is more durable.
- Color Theory: Use color theory to select complementary colors that will look great on fabric.
Chapter 4: Advanced Digitizing Techniques
4.1 Push & Pull Compensation
- Adjusting Stitch Density: Fine-tune your stitches to avoid unwanted puckering or stretching.
- Fabric-Specific Adjustments: Thicker fabrics might need more push compensation, while lighter fabrics may require less.
4.2 Special Effects in Digitizing
- Texture and Depth: Create multi-layered effects by experimenting with different stitch types.
- 3D Puff Embroidery: Get knowledge on how to digitize 3D puff embroidery, which uses foam to raise the design of the fabric, creating a bold, dimensional effect. Also, learn about flat embroidery vs 3d puff embroidery.
4.3 Preparing for the Sew-Out
- Test Runs: Always test your design on a similar piece of fabric before the final sew-out.
- Final Adjustments: Make any last-minute tweaks to ensure the design will translate smoothly onto the fabric.
How to Digitize for Embroidery Chapter 5: Troubleshooting Common Digitizing Problems
5.1 Addressing Thread Breakage and Tension Issues
Thread breakage is one of the most common issues when digitizing embroidery designs. To troubleshoot this:
- Check Thread Quality: Low-quality threads are more likely to break. Always use high-quality embroidery threads.
- Adjust Tension: If thread breaks are frequent, adjust the machine’s tension. Tight tension can cause the thread to snap, while loose tension leads to sloppy stitching.
- Needle Size: Ensure the needle is the right size for the fabric and thread you’re using. A thick needle for thin fabric can cause excessive friction, leading to breakage.
5.2 Solving Fabric Issues
- Design Puckering: This happens when stitches pull the fabric too tightly. Prevent this by adjusting the stitch density or using proper underlay stitching.
- Needle and Fabric Compatibility: Different fabrics require specific needles. For example, a ballpoint needle works best for knits, while a sharp needle is ideal for woven fabrics.
5.3 Dealing with Poor Quality Stitching
- Unbalanced Stitches: Stitches that are too dense or too sparse can affect the final result. Adjust the density to ensure a balanced look.
- Fixing Gaps or Overlapping Stitches: If you notice gaps or overlapping, adjust the stitch order or density. Overlapping stitches can create a bulky design that may not sit well on fabric.
How to Digitize for Embroidery Chapter 6: Time-Saving Tips and Best Practices for Digitizing
6.1 Automation in Digitizing Software
Many embroidery software programs offer auto-digitizing features. These can be helpful, but it’s important to know when to use them:
- Auto-Digitizing: Great for simple designs, but manual adjustments are often necessary for more complex or detailed work.
- Design Templates: Save time by creating and reusing templates. This is particularly useful for repetitive designs like logos or monogramming.
6.2 Streamlining Your Workflow
To increase efficiency in digitizing:
- Keyboard Shortcuts: Learn shortcuts to speed up tasks. For example, using shortcut keys for zooming or selecting tools can save precious time.
- Organizing Design Files: Keep your files organized in folders by type (e.g., logos, patches, monograms) for easy access.
6.3 Improving Your Digitizing Speed
- Efficiency Techniques: Use preset stitch settings for common tasks like text or simple logos. Avoid starting from scratch for every new design.
- Stay Organized: Keep all design assets, such as fonts and patterns, organized. This will make future projects faster and smoother.
How to Digitize for Embroidery Chapter 7: Understanding the Business of Embroidery Digitizing
7.1 Is Embroidery Digitizing a Profitable Business?
Embroidery digitizing is not just a craft—it can also be a lucrative business. Here’s why:
- Demand: Businesses, schools, sports teams, and even individuals regularly require custom embroidery services.
- Pricing Your Work: The cost of embroidery digitizing depends on the complexity, size, and type of design. On average, expect to charge anywhere from $10 to $50 per design, depending on these factors.
7.2 Outsourcing vs. In-House Digitizing
As your business grows, you may have the option to outsource digitizing. However, doing it in-house has several benefits:
- Outsourcing: If you have limited time or need very complex designs, outsourcing to professionals is a good option.
- In-House Digitizing: Handling digitizing in-house saves money and gives you full creative control over the design process.
Get a Free Embroidery Digitizing Quote Now!
How to Digitize for Embroidery: Types of Embroidery Digitizing Services
Embroidery digitizing services have several key categories. Each type requires specific techniques and considerations:
- Custom Embroidery Digitizing Services: Tailored designs for businesses, events, or personal projects. Learn what is custom embroidery digitizing. And why you need it.
- Logo Digitizing Service: Converting logos into embroidery-ready files while maintaining brand integrity.
- Monogram Digitizing Service: Digitizing initials or custom monograms for gifts or branding purposes.
- 3D Puff Embroidery Digitizing Service: Specializes in creating raised, 3-dimensional designs using foam underlay and specific stitch techniques.
- Center Chest & Jacket Back Embroidery Digitizing: Creating designs for the chest area or back of jackets, often for sports teams or corporate wear.
- Appliqué Digitizing Services: Incorporates fabric patches sewn onto garments, often used in creative fashion and sports apparel.
- Patch Digitizing Service: Converting images or logos into patch designs for uniforms or promotional materials.
- Photo to Embroidery Digitizing Services: Digitizing photos into embroidered designs—this is especially challenging as it requires high detail management.
- Font/Lettering Digitizing Service: Turning custom fonts or lettering into stitch files, is important for monogramming or logo designs.
- Color Blending Digitizing Services: Creates smooth transitions between colors for a more gradient-like effect in embroidery.
- Small Lettering Digitizing Services: Specializes in creating small text designs that remain legible and clear once embroidered.
Best Embroidery Digitizing Services Provider: Quality Designx
If you’re looking for the best embroidery digitizing services in the USA, UK, Australia, Europe, or across the world let me tell you Quality Designx is the top provider in the industry. Known for their high-quality digitization, they offer:
- Fast Turnaround Times: Quick service for time-sensitive projects.
- Competitive Pricing: Affordable options without compromising quality.
- Experience: With years of expertise, and tons of projects in our embroidery digitizing portfolio; we handle even the most complex embroidery designs with ease.
Final Words: Embark on Your Digitizing Journey
Learning how to digitize for embroidery opens up a world of creativity and opportunity. Whether you’re a hobbyist, small business owner, or professional embroiderer learning how to digitizine for embroidery can be game-changer. By mastering the tools and techniques in this guide, you can take control of your designs and produce high-quality, professional embroidery work.
The journey to becoming a skilled embroidery digitizer may take time. But with practice and dedication, you’ll be able to create stunning, unique embroidery designs for any project. Start experimenting with your own designs, or improve your skills with online courses, software tutorials, and hands-on practice.
Where to Go From Here
Now that you have a solid understanding of the embroidery digitizing process, continue learning, experimenting, and perfecting your skills.
- Learn from Experts: Consider taking online courses, joining embroidery forums, and following expert digitizers for more insights.
- Practice: Start with simple designs and gradually move to more complex projects as you become more comfortable with the software and techniques.
With the right tools, knowledge, and practice, you’ll be able to create professional-level embroidery designs that stand out. Whether you’re creating for personal use or growing a business, the ability to digitize is an essential skill.
Contact us for any embroidery digitizing-related query.


