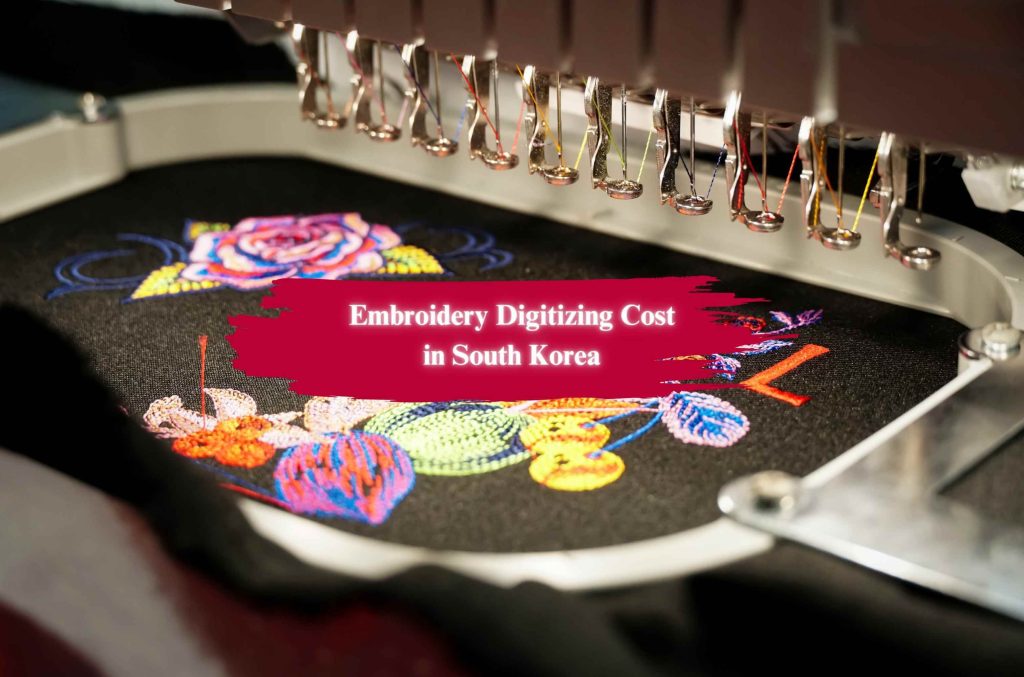
Embroidery digitization is a fascinating process that transforms anything into stitch-ready designs. Photo-to-embroidery digitizing is a type of digitizing that allows embroidery machines to bring images to life on fabric. Whether you’re a hobbyist aiming to immortalize cherished memories or a professional creating custom designs, understanding how to digitize a photo for embroidery is key to achieving precise and visually stunning results.
This guide provides a comprehensive step-by-step approach to digitizing photos for embroidery. You’ll learn everything from selecting the right image to using specialized software and refining your design.
We’ll delve deep into the essential techniques to ensure your embroidery projects are both beautiful and durable. Perfect for beginners and experienced users alike. This guide will also introduce tools and services that make the process simpler and more efficient.
By mastering photo digitization for embroidery, you can preserve memories in a unique format, personalize gifts, or add a professional touch to your craft. Let’s explore how to digitize a photo for embroidery and unlock endless creative possibilities!
How to Digitize a Photo for Embroidery: What is Embroidery Digitization?
Before explaining to you how to digitize a photo for embroidery let us tell you “What is embroidery digitizing?”.
Embroidery digitization converts images, whether they’re photos, logos, or hand-drawn designs, into digital files that embroidery machines can stitch. These files guide the machine on stitch placement, density, and color changes to bring the image to life on fabric. While the process sounds simple, it requires creativity, technical expertise, and the right tools.
Why is Embroidery Digitization Important?
The importance of embroidery digitization lies in its versatility and practicality. With digitization, you can transform any design into an embroidery file that serves both personal and professional needs.
- Customization: Embroidery digitization makes it possible to personalize garments, accessories, and home décor. Whether it’s monogramming a towel set or creating unique embroidered gifts, the possibilities are endless.
- Efficiency: Digitization ensures precise and repeatable results, making it an essential part of commercial embroidery operations.
- Professional Applications: Logos and custom artwork for businesses are brought to life with embroidery digitization. A professionally digitized logo conveys quality and attention to detail, reflecting positively on the brand.
How to Digitize a Photo for Embroidery: Choosing the Right Image for Embroidery Digitization
The success of embroidery digitization begins with selecting the right image. Not all photos or designs are suitable for digitization due to the unique constraints of thread and fabric.
Key Considerations When Choosing an Image
- High Resolution: A clear, high-quality image is crucial for achieving precise results. Pixelated or blurry images make it difficult to identify details, resulting in an unsatisfactory embroidery design.
- Simplicity: Embroidery thrives on simplicity. Designs with too many small details, excessive gradients, or overlapping elements can become difficult to interpret when stitched.
- Cropping and Editing: Before digitizing, crop the image to focus on the primary subject. Remove any unnecessary backgrounds or elements that may clutter the design.
- File Formats:
- For raster images (e.g., photographs), formats like JPEG or PNG are ideal.
- For logos or scalable vector art, use EPS or SVG files, as these are resolution-independent.
Tips for Choosing Photos
When working with photos, opt for those that have distinct color blocks and minimal gradients. Images with too many color transitions can lead to muddy or unclear embroidery. Editing tools like Photoshop can help you simplify the photo by reducing colors and enhancing contrast.
How to Digitize a Photo for Embroidery: Tools and Software for Embroidery Digitization
These embroidery software have revolutionized how digitizers for embroidery used to digitize in the past. Specialized software is at the heart of embroidery digitization. The right program can make the difference between a smooth workflow and a frustrating experience.
Popular Embroidery Digitization Software
- Inkscape with Ink/Stitch:
This free, open-source software is perfect for beginners. The Ink/Stitch extension adds embroidery functionality to Inkscape, enabling users to convert vector art into embroidery designs. - PE-Design Next:
Developed by Brother, this software offers advanced features for converting images into embroidery-ready files. It’s a go-to choice for professionals seeking precision and control. - Hatch Embroidery Software:
Known for its user-friendly interface, Hatch offers powerful customization options, making it ideal for intermediate to advanced users. - Embird:
Embird is favored for its ability to handle detailed photo stitching and its range of plug-ins that enhance its functionality. - SewArt:
A budget-friendly option, SewArt is well-suited for beginners looking to convert images into basic embroidery files.
Key Features to Look For
When choosing software, prioritize the following features:
- Adjustable stitch density and type.
- Compatibility with popular embroidery machine formats like PES or DST.
- A user-friendly interface that allows easy image editing and design manipulation.
[Pro Tip: Want to know more about the digitizing process? Read out the complete guide on how to digitize for embroidery.]
How to Digitize a Photo for Embroidery: Step-by-Step Process to Digitize a Photo for Embroidery
Step 1: Prepare Your Image
The first step of the process of digitizing a photo for embroidery is preparing your image for digitization. Resize the photo to match the dimensions of your embroidery hoop. Maintain the aspect ratio to prevent distortion. Simplify the design by breaking it into key elements and reducing unnecessary complexity, such as overly detailed backgrounds or fine gradients.
Save the image in a compatible format, such as PNG for photos or EPS for vector designs.
Step 2: Import the Image into the Software
The second step of the process of digitizing a photo for embroidery is loading the prepared image into your chosen digitizing software. Adjust the workspace to match your embroidery hoop’s size and resolution. Familiarize yourself with the software’s tools for creating stitch patterns and color assignments.
Step 3: Assign Stitch Types
The third step of the process of digitizing a photo for embroidery is: Selecting a specific stitch type for each section of your design:
- Straight Stitch: Best for outlines and fine details.
- Satin Stitch: Ideal for text and borders, creating a smooth, shiny finish.
- Fill Stitch: Used to cover large areas with a uniform texture.
Experiment with these stitch types to see how they impact the final design.
Step 4: Adjust Stitch Density
Stitch density affects the design’s appearance and durability. Too much density can cause fabric puckering, while too little may result in gaps. Adjust the density for each section of your design based on the fabric type and desired outcome.
Step 5: Plan the Stitching Path
Efficient pathing minimizes thread changes and jumps stitches, reducing production time. Use underlay stitches to stabilize the fabric and improve the design’s overall quality.
Step 6: Save the File
So the final step of digitizing a photo for embroidery is to save your completed design in a format compatible with your embroidery machine, such as PES, DST, or EXP.
How to Digitize a Photo for Embroidery: Types of Embroidery Digitizing Services
If you lack the tools or expertise to digitize a photo yourself, professional embroidery digitizing services can help. These services offer specialized skills to handle even the most complex designs.
Custom Embroidery Digitizing Services
Custom embroidery digitizing services cater to unique projects, turning intricate artwork into stitch-ready files. They are ideal for personal gifts, artistic designs, or one-of-a-kind creations.
[Pro Tip: Learn what is custom embroidery digitizing and how custom embroidery digitizing works.]
Logo Digitizing Service
Logo digitizing services are essential for businesses seeking professional branding. High-quality digitization ensures logos retain their clarity and integrity when embroidered on uniforms, caps, or promotional items.
Monogram Digitizing Service
Monogram digitizing service adds a touch of elegance to garments and gifts. Professional monogram digitizing services create small, precise designs that are both stylish and legible.
3D Puff Embroidery Digitizing
3D puff embroidery digitizing service adds depth to designs, creating a raised, tactile effect. This technique is commonly used for caps and sportswear.
Center Chest & Jacket Back Embroidery Designs
Large-scale designs require careful planning and digitization to maintain detail and balance. Center Chest & Jacket Back Embroidery digitizing is popular for uniforms and statement pieces.
Appliqué Digitizing Services
Appliqué Digitizing Services combines fabric with stitching for a textured, layered effect. It’s a cost-effective way to add visual interest without using excessive thread.
Patch Digitizing
Patch digitizing service converts designs into sew-on or iron-on patches. These are widely used by clubs, teams, and organizations.
Photo to Embroidery
Turning a cherished photo into an embroidery design is a highly specialized service that requires skilled digitizing. The customized photo-to-embroidery digitizing services are perfect for preserving memories in a unique, tangible way.
Font/Lettering Digitizing Service
Font/Lettering digitizing service ensures that text-based designs are crisp and legible, even in small sizes. These services are essential for logos and personalized designs.
How to Digitize a Photo for Embroidery: Testing and Refining the Design
Testing is one of the most crucial steps in embroidery digitization. It ensures that your design stitches out as expected and prevents errors that could ruin your project or waste materials.
Why is Testing Important?
- Accuracy: Designs that look perfect on-screen can behave unpredictably on fabric. Testing allows you to identify and correct issues before committing to the final project.
- Fabric and Stabilizer Compatibility: Different fabrics and stabilizers affect how the embroidery stitches out. Testing ensures your design works well with the chosen materials.
- Thread and Color Adjustment: Testing helps refine color choices, as thread colors may appear different under lighting or on fabric.
Steps for Testing
- Choose Similar Materials:
- Use fabric and stabilizer similar to your final project material.
- For example, if your project is on a cotton T-shirt, test on a similar cotton swatch.
- Run a Sample Stitch:
- Load your digitized file onto the embroidery machine.
- Watch for issues such as thread breaks, loose stitches, or misalignment.
- Evaluate Key Areas:
- Check for puckering, which often results from incorrect stabilizer or stitch density.
- Ensure small details, like text or outlines, are crisp and legible.
- Make Adjustments:
- Modify stitch density to improve coverage or reduce fabric stress.
- Adjust sequencing to optimize the stitching path and avoid unnecessary jumps.
- Re-Test:
- After making changes, repeat the test to confirm the improvements.
Common Issues and Fixes
- Puckering: Reduce stitch density or switch to a better stabilizer.
- Thread Breaks: Adjust thread tension or use higher-quality thread.
- Uneven Coverage: Use fill stitches with proper overlap settings.
Testing ensures a professional-quality result and saves time and materials in the long run. It’s an essential step for both beginners and professionals.
Choosing the Best Embroidery Digitizing Service Provider
Not everyone has the time, tools, or expertise to digitize embroidery designs. In such cases, the best embroidery digitizing services come to the rescue. These services specialize in converting artwork into machine-readable embroidery files.
What to Look For in a Service Provider
- Experience and Expertise:
- Choose a company with a track record of delivering high-quality results.
- Experienced providers can handle complex designs, like logos or detailed photographs.
- Range of Services:
- Ensure the provider offers services that match your needs, such as custom digitization, logo digitizing, 3D puff embroidery, or patch digitizing.
- Turnaround Time:
- Quick service is vital, especially for businesses with tight deadlines.
- Affordability:
- Compare pricing to ensure the service fits your budget without compromising quality.
- Customer Support:
- Responsive support is essential for addressing questions or concerns during the process.
Why Quality Designx is the Best Option
Quality Designx consistently ranks among the top embroidery digitizing service providers globally. Here’s why they stand out:
-
- Unmatched Expertise: Their team specializes in intricate designs, ensuring accuracy and visual appeal.
- Wide Range of Services: From monograms and 3D puff embroidery to logo digitizing and appliqué designs, they cover it all.
- Fast Turnaround Times: They deliver projects quickly without sacrificing quality.
- Customer Satisfaction: Known for excellent communication and support, they ensure every customer feels valued.
- Portfolio and Pricing: Their embroidery digitizing portfolio is versatile and embroidery digitizing pricing is affordable.
Whether you’re a DIY enthusiast or running a business, Quality Designx can handle your embroidery digitization needs efficiently and professionally.
Preserving Your Photos Through Digitization
Digitizing photos is not only a way to preserve memories but also opens up creative opportunities for embroidery. By turning physical photographs into digital files, you can create embroidery designs or simply ensure your photos are safe for generations.
Why Digitize Photos?
- Preservation:
- Physical photos degrade over time due to exposure to light, humidity, and handling.
- Digitization safeguards your memories against loss or damage.
- Accessibility:
- Digital photos are easy to share with family and friends.
- They can be stored on multiple devices, ensuring accessibility from anywhere.
- Creative Applications:
- Use digitized photos to create unique embroidery designs.
- Incorporate photos into personalized gifts, quilts, or art projects.
How to Digitize Photos
- Choose a Reliable Photo Scanner:
- Use high-resolution scanners to ensure quality.
- Consider professional photo scanning services if you don’t have the equipment.
- Edit and Enhance:
- Use software like Photoshop to clean up scratches, adjust colors, or crop the image.
- Save in Suitable Formats:
- For embroidery digitization, save as PNG or JPEG for raster images or EPS for vector graphics.
- Backup and Organize:
- Store your digitized photos on multiple platforms, such as cloud storage or external drives.
Professional Photo Scanning Services
If you’re wondering where to digitize photos or scan old pictures to digital, consider professional photo-to-embroidery digitizing services. They ensure high-quality results and handle fragile or old photographs with care.
Wrapping Up
Embroidery digitization is a powerful way to transform photos into lasting works of art. Whether you’re stitching a cherished memory or creating professional designs, the process combines creativity, technical skill, and precision. By following the steps outlined in this guide, you can ensure high-quality results, whether working on your own or with a trusted provider like Quality Designx.
Photo digitization complements embroidery digitization beautifully, preserving precious memories while providing the raw materials for stunning projects. With professional services or the right tools, you can safeguard your photos for the future and unlock new creative possibilities.
Embark on your embroidery digitization journey today and see how far your creativity can take you! Whether you’re an amateur or a seasoned professional, the right knowledge and tools will help you achieve extraordinary results.


