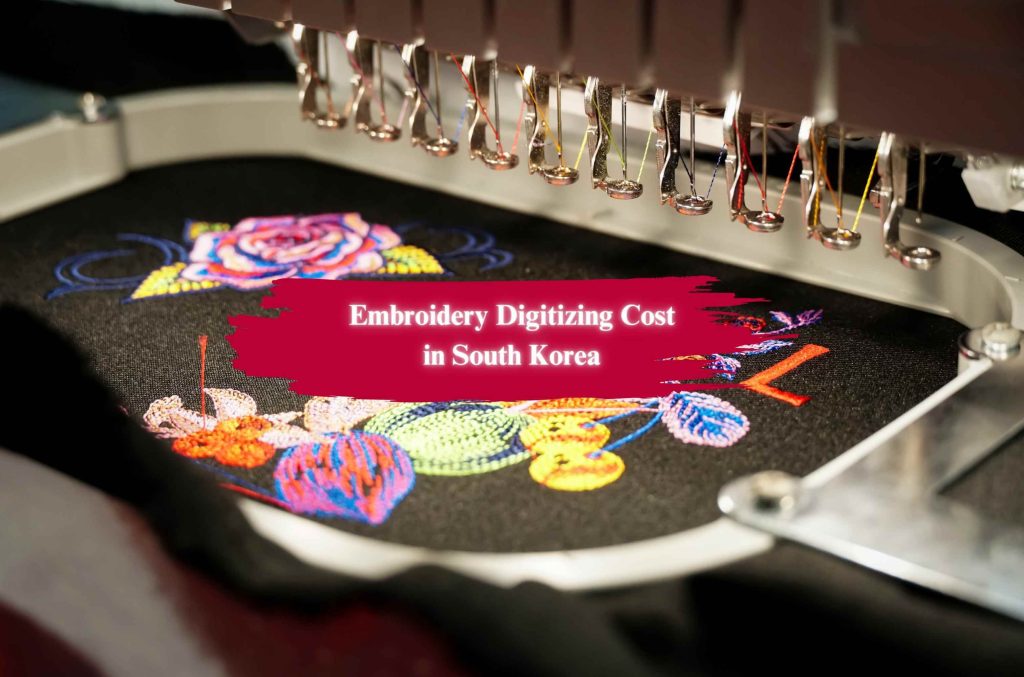
Today, we’ll learn about one of the most interesting topics in the world of embroidery digitizing: How to Digitize a Logo.
In today’s competitive world of branding, having a distinctive embroidered logo is an essential element of marketing and professionalism. Embroidered logos on apparel, hats, or accessories add a premium touch that enhances brand visibility. However, converting your design into an embroidery-ready format, also known as digitizing, requires technical expertise and the right tools.
Contrary to popular belief, digitizing a logo for embroidery is not as simple as uploading an image and letting the machine work its magic. It’s a detailed process involving precision, technical know-how, and creativity.
In this guide, we’ll break down how to digitize a logo for embroidery step by step. We’ll explore the tools you’ll need, and share tips for achieving a polished final product.
What is Logo Digitization?
Logo digitization is the process of converting a graphic or logo into a format that embroidery machines can interpret. Unlike standard image files such as JPEG or PNG, embroidery files are stitch-based. They guide the machine on where, how, and in what sequence to place each stitch. This ensures your logo is replicated accurately on fabric, with the right textures and dimensions.
Why It’s Necessary
Standard image files are pixel-based and designed for screens or print, but embroidery machines operate differently. They require stitch data to understand the design. Without proper digitization:
- The logo may lose clarity and detail.
- The embroidery machine may produce distorted patterns.
- Excessive threads, jumps, and trims can lead to wasted time and materials.
Applications
Digitized logos are versatile and can be used for:
- Apparel: T-shirts, polos, uniforms.
- Accessories: Hats, scarves, tote bags.
- Patches: For events, uniforms, or personalized gifts.
By understanding the basics of digitization, you set the foundation and start learning about how to digitize a logo.
Essential Tools for Logo Digitization
To digitize a logo effectively, you’ll need the right combination of hardware, software, and learning resources.
Hardware
The type of embroidery machine you use depends on your needs:
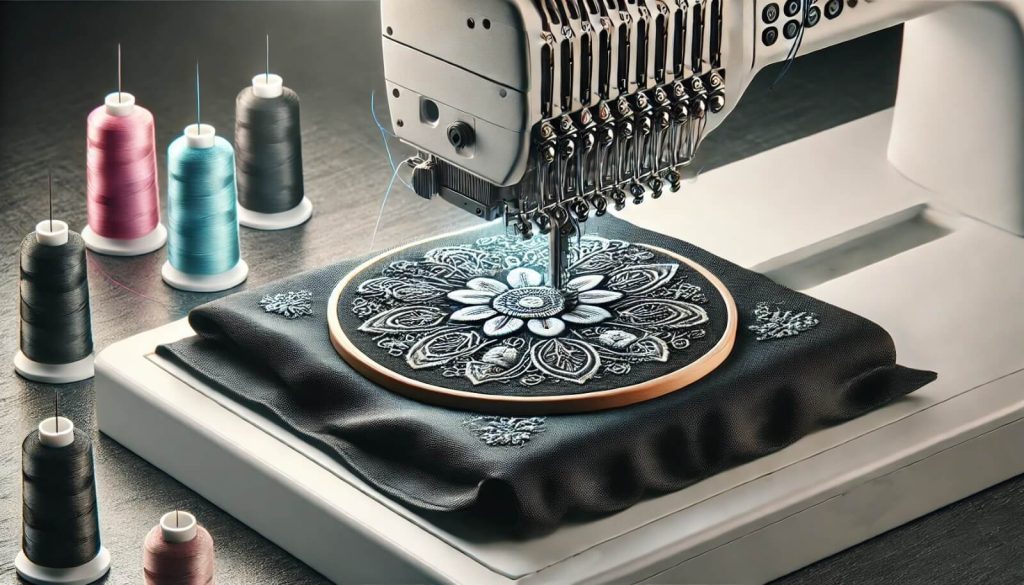
- Commercial Machines: High-speed, multi-needle machines like Tajima and Melco are ideal for large-scale projects. They handle complex designs and bulk production with precision.
- Home-Use Machines: Affordable and compact options such as Brother and Janome work well for smaller-scale projects or hobbyists.
Additionally, you’ll need:
- USB Drives or Flashcards: For transferring digitized files from your computer to the embroidery machine.
- Embroidery Thread and Fabric: High-quality materials ensure vibrant, durable designs.
Software
Embroidery software converts your logo into a machine-readable format and allows you to adjust design elements. Some popular options include:
- Wilcom Advanced Digitizing Software: Known for its precision and advanced features but with a higher cost and learning curve.
- Brother Embroidery Design Software: Beginner-friendly and perfect for small projects, though it lacks advanced capabilities.
- Embird: Affordable and versatile, suitable for hobbyists but limited for commercial use.
Additional Resources
Learning resources can help you master digitization:
- Online Tutorials: Platforms like YouTube and Skillshare offer step-by-step guides.
- Courses: Beginner-to-advanced classes provide structured learning.
- Forums and Communities: Groups on Reddit or Facebook allow you to exchange tips and get feedback.
With the right tools, digitization becomes an accessible skill that you can refine over time.
Step-by-Step Guide to How to Digitize a Logo for Embroidery
Step 1: Upload Your Logo
The first step is uploading your logo to embroidery digitizing software. Supported formats include PNG, JPEG, or BMP. Before uploading, clean up unnecessary backgrounds or white spaces and ensure the file is high-resolution. A clear, well-prepared file ensures intricate details are captured during digitization.
Step 2: Set Design Dimensions
Measure the area on your fabric where the logo will be embroidered and input the exact dimensions into the software. Resizing after digitization can distort the design, so precision at this stage is crucial. For smaller spaces like caps or cuffs, use tools like rulers or calipers to ensure accuracy.
Step 3: Choose Stitch Types
Stitch types define the texture and definition of your embroidery. The three most common stitch types are:
- Straight Stitch: Best for outlines, fine details, and shading.
- Satin Stitch: Ideal for text, borders, and smooth, shiny effects.
- Fill Stitch: Used for large, textured areas or woven appearances.
Choosing the right stitch type ensures your logo is both visually appealing and machine-efficient.
Step 4: Assign Stitch Directions
Stitch direction acts as a roadmap for the embroidery machine, guiding it on the sequence and alignment of stitches. Proper direction avoids excessive trims and jumps, resulting in a cleaner design. For smooth shading, use diagonal patterns, and minimize overlapping stitches to reduce bulk.
Step 5: Select Thread Colors
Match your logo’s Pantone colors with embroidery thread for consistent branding. Use tools like Pantone color charts or digital match features within embroidery software to select the right shades.
Step 6: Convert and Transfer the File to the Machine
Convert your digitized design into a compatible format, such as .dst for Tajima or .exp for Melco. Transfer the file to your machine using a USB drive, direct connection, or flashcard.
Step 7: Prepare the Embroidery Machine
Set up the embroidery machine by configuring the needles, thread sequence, and fabric orientation. Secure the fabric tightly in the hoop to prevent movement during stitching.
Step 8: Test the Design
Run a test embroidery on scrap fabric to identify any issues. Common problems include misaligned stitches, uneven tension, or incorrect colors. Make adjustments in the software and retest until the design meets your expectations.
How to Digitize a Logo: Tips for Better Digitization
Design Tips
Simplify overly complex logos before digitization. Embroidery machines often struggle with tiny details and subtle gradients. Converting intricate gradients or fine text into bold, simple shapes ensures better clarity and a more professional finish. Remember, embroidery thrives on simplicity.
Fabric Considerations
The fabric you choose greatly impacts the outcome of your embroidery. For stretchy fabrics, stabilizers are essential to prevent distortion during stitching. Thick fabrics may require adjusted stitch densities to avoid thread bunching, while delicate fabrics benefit from lighter stitches to avoid tearing. Understanding these nuances ensures that your digitized logo looks perfect on any material.
Stitch Efficiency
Efficient stitching saves both time and resources without compromising quality. Avoid excessive fill stitches in large areas; instead, consider using techniques like appliqué for better results. Additionally, group similar colors together in your design to minimize thread changes and reduce machine downtime. By focusing on stitch efficiency, you can maintain cost-effectiveness while achieving a high-quality finish.
Advanced Techniques and Alternatives
3D Puff Embroidery
3D Puff embroidery digitizing technique involves placing foam under stitches to create a raised, three-dimensional effect. It’s ideal for bold, simple designs on hats, bags, and thicker materials. However, avoid overly intricate details, as they may lose clarity.
Appliqué Embroidery
Appliqué embroidery digitizing combines laser-cut fabric pieces with embroidery for added depth. This technique works well for large designs on jackets or hoodies and saves stitching time while creating a layered appearance.
Patch Embroidery
Patch embroidery digitizing involves creating embroidered patches separately and attaching them to various items. It’s a cost-effective option for small or intricate designs, offering versatility for events, uniforms, and giveaways.
Common Mistakes While Logo Digitizing and How to Avoid Them
- Mistakes in File Preparation: Overlooking file format or incorrect dimensions can lead to errors. Always ensure the file is in the correct format (.dst, .exp, .jef) and double-check measurements.
- Errors in Stitch Directions: Incorrect stitch patterns can result in uneven designs or thread breakage. Plan directions carefully to optimize the workflow.
- Skipping the Test Phase: Skipping a test run can waste materials and time. Always test your design on scrap fabric before final production.
Benefits of Professional Logo Digitization Services
Investing in professional embroidery digitizing services like logo digitizing services and custom embroidery digitizing services saves you time and effort.
Time-Saving
Outsourcing your logo digitization to experts like Quality Designx saves you the hassle of learning how to digitize a logo. Professionals handle the intricate details, so you can focus on your business.
Precision and Quality
Professional digitizers for embroidery have the experience and tools to ensure every stitch aligns perfectly, resulting in a polished and durable embroidery design. If you’ve ever wondered, “How do I digitize a logo for embroidery with precision?”, the answer is trusting skilled professionals.
Cost-Effectiveness
While DIY digitization might seem cheaper upfront, mistakes can lead to wasted materials and costly rework. Professional services save money in the long run by delivering high-quality results the first time.
Ready to experience the benefits of professional digitization? Reach out to our embroidery digitizing pricing for expert embroidery digitizing services.
Final Thoughts
Learning how to digitize a logo for embroidery is a crucial step in creating impactful and professional branding. Whether it’s for uniforms, merchandise, or promotional items, a well-digitized logo can make all the difference in quality and durability. While learning how to digitize for embroidery can be rewarding, outsourcing to embroidery digitizing experts ensures precision and saves time.
Don’t let digitizing hold back your branding efforts. Contact Quality Designx today to get your logo digitized with precision and expertise. Whether you’re exploring how to digitize a logo for embroidery for free, how to get a logo digitized, or looking for advanced embroidery techniques, we’ve got you covered.
Visit our website check out our embroidery digitizing portfolio and contact us to start your project today!
FAQs
1. What is logo digitization for embroidery?
Logo digitization for embroidery is the process of converting a graphic or logo into a stitch-based file format that embroidery machines can understand. This file guides the machine on how to stitch the design, specifying the type, direction, and density of stitches.
2. Why do I need to digitize my logo for embroidery?
Embroidery machines cannot read standard image files like PNG or JPEG. Digitizing ensures that the logo is converted into a machine-readable format, preserving its clarity, details, and alignment while optimizing the stitch pattern for fabric.
3. What tools do I need to digitize a logo?
To digitize a logo, you’ll need:
- Hardware: An embroidery machine and accessories like USB drives and quality threads.
- Software: Embroidery digitizing programs such as Wilcom, Brother Embroidery Software, or Embird.
- Optional learning resources like online tutorials or courses can also help.
4. Can I digitize my logo for free?
Yes, there are free or trial versions of embroidery software available, such as Inkscape with the Ink/Stitch plugin. However, these free tools often lack advanced features and may have a steeper learning curve.
5. What file formats are used for embroidery machines?
Common file formats for embroidery include:
- .dst for Tajima machines.
- .exp for Melco machines.
- .jef for Janome machines. The required format depends on the type of embroidery machine you’re using.
6. How long does it take to digitize a logo?
The time required depends on the complexity of the design. A simple logo can take 30–60 minutes, while intricate designs with multiple colors and details might take a few hours.
7. What are the common stitch types used in embroidery digitization?
The three most common stitch types are:
- Straight Stitch: For outlines and fine details.
- Satin Stitch: For text and borders.
- Fill Stitch: For large areas or textures.
8. Can all logos be digitized for embroidery?
Most logos can be digitized, but highly intricate designs with fine details, gradients, or small text may need simplification. Simplifying such designs ensures they translate well into embroidery.
9. Do I need to test my digitized logo before production?
Yes, testing your digitized logo on scrap fabric is essential. This step helps identify and fix any issues with alignment, stitch quality, or thread colors before final production, saving time and resources.
10. Why should I hire a professional digitizer?
Professional digitizers, like the team at Quality Designx, have the expertise, tools, and experience to create accurate, efficient designs. Hiring professionals ensures consistent quality, reduces errors, and saves time, especially for complex or large-scale projects.


